First, you need to open the back of your camera. Pull up on the rewind knob to release the latch. - Next, take your film and insert it into the camera. Pull up slightly on the rewind knob and push it down partway to hold the film in place. - The right-side spool has slots for the film tab. Insert the film into one of these slots, ensuring it goes all the way through the spool. - Now, pull on the film advance lever. Notice how the film tab is all the way through the spool and how the sprockets line up with the holes on the film. - Press the shutter button and advance the film once more to secure it. Then, close the back of the camera, making sure it snaps shut. Push the rewind knob all the way down. - Advance the film until the picture counter reads zero. Remember to push the shutter button each time you advance the film. You should also see the rewind knob not turning. - After taking all your pictures, rewind the film before opening the back of the camera. Lift up the rewind lever and press the rewind release button on the bottom of the camera. - Keep rewinding until you feel the film release from the right-side spool. This is what happens inside the camera. - Continue rewinding until the film is completely inside its canister. To remove the film, pull up on the rewind knob. It is now ready to be sent to a processor.
Award-winning PDF software


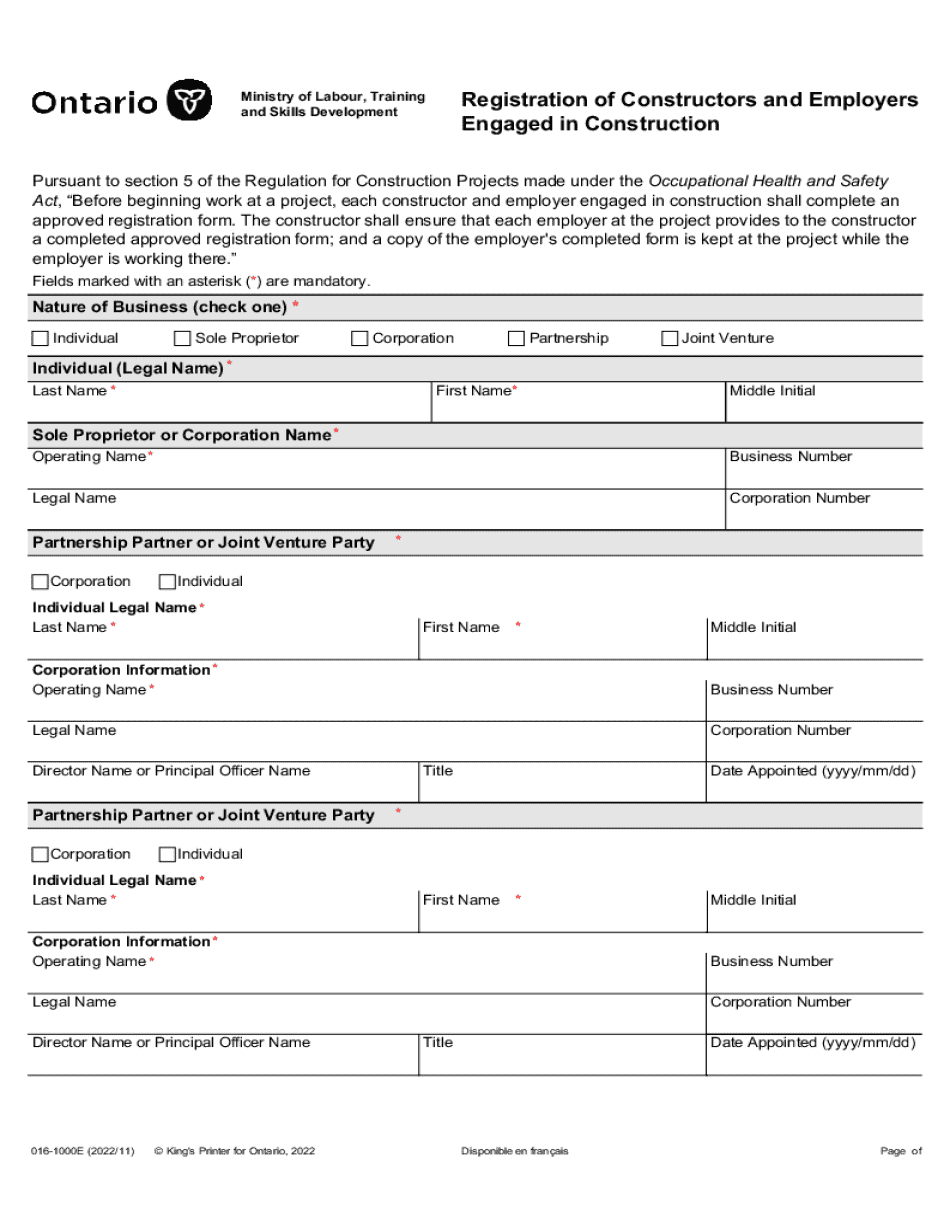
1000 fillable Form: What You Should Know
A complete online solution for your construction projects, Form 1000 — Fill Online, Fillable, Blank | filler The construction site is a collaborative effort and all the participants must have the same vision to achieve a shared goal.
online solutions help you to manage your record administration along with raise the efficiency of the workflows. Stick to the fast guide to do Mol 1000, steer clear of blunders along with furnish it in a timely manner:
How to complete any Mol 1000 online: - On the site with all the document, click on Begin immediately along with complete for the editor.
- Use your indications to submit established track record areas.
- Add your own info and speak to data.
- Make sure that you enter correct details and numbers throughout suitable areas.
- Very carefully confirm the content of the form as well as grammar along with punctuational.
- Navigate to Support area when you have questions or perhaps handle our assistance team.
- Place an electronic digital unique in your Mol 1000 by using Sign Device.
- After the form is fully gone, media Completed.
- Deliver the particular prepared document by way of electronic mail or facsimile, art print it out or perhaps reduce the gadget.
PDF editor permits you to help make changes to your Mol 1000 from the internet connected gadget, personalize it based on your requirements, indicator this in electronic format and also disperse differently.
Video instructions and help with filling out and completing Form 1000 Fillable